4 Deploy an App using the Webconsole
Prerequisites
-
Access to an OpenShift Cluster and a Web Console URL.
Introduction
There are different ways to deploy workloads to an openshift cluster. Here we will explore deploying a simple web application using OpenShift developer console.
What happens when we deploy an application?
OpenShift creates a bunch of objects when you deploy an application. Some key objects:
-
Build Configuration: If you are starting with source code or a dockerfile, the build configuration shows you where the source code is and the strategy to build the application, parameters to be passed to your build and more. You can explore and edit openshift build configuration YAML using web console, if you desire to change it. Each time you start a build, it runs a pod inside which the application build happens. The result of the build is typically a container image that gets saved in a container registry (integrated registry on your openshift cluster by default)
-
Deployment or Deployment Configuration: DeploymentConfig is an openshift concept that predates kubernetes deployment. The DeploymentConfig is deprecated, we don’t use these anymore for new deployments and all old DeploymentConfigs will be converted to deployments. These are the configurations for how your application is deployed, the environment variables to be passed to our container, external configurations to be passed via configmaps, storage mounts etc. This defines the configuration for your running application.
-
Service Kubernetes service frontends a set of pods and proxies traffic to your application pods.
-
Route OpenShift route is ingress to your application. Creation of route object results in a URL being added to the OpenShift router which becomes an entry point for your application from outside the cluster.
-
Ingress is a Kubernetes native way to create ingress to your application. An openshift Route also creates an Ingress object. We prefer to use Ingress because they are Kubernets native. In this workshop routes will be used though.
In addition to the above, it may create Secrets, ConfigMaps, ServiceAccounts and other objects too.
When you explore a deployed application, make sure you look at the corresponding YAMLs for each of these objects.
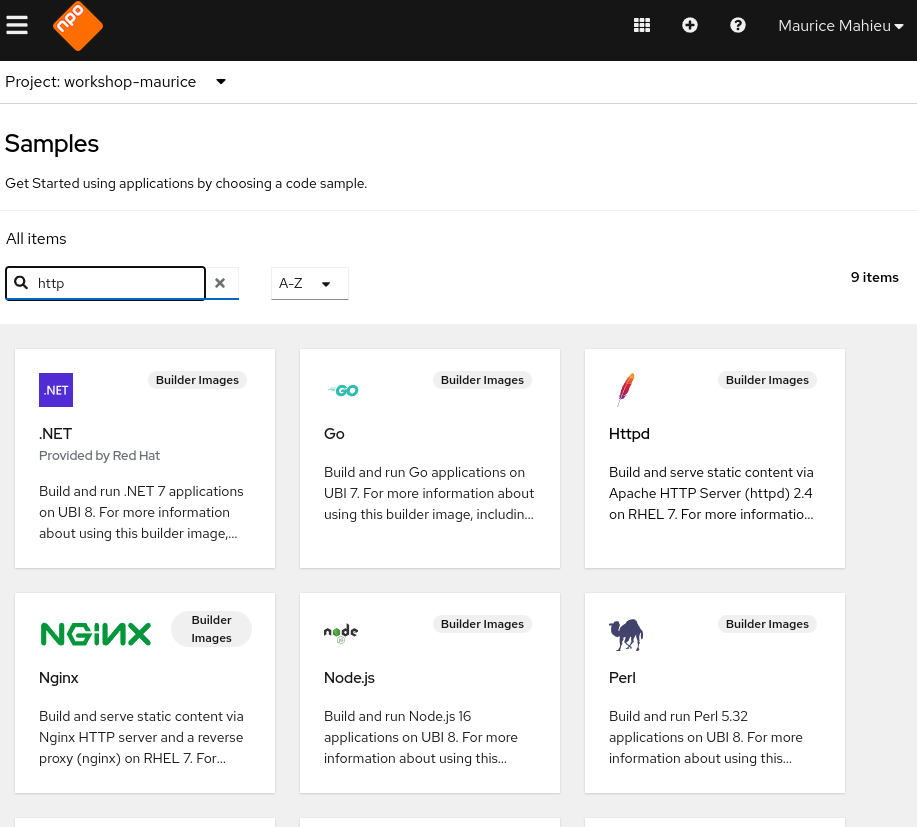
Deploy an application
-
Log into Developer Console as explained here and create a project, if you have not already done so.
-
Klik on "Add page"
-
Choose "Create applications using samples"
-
Choose Httpd.
Click on Create button
-
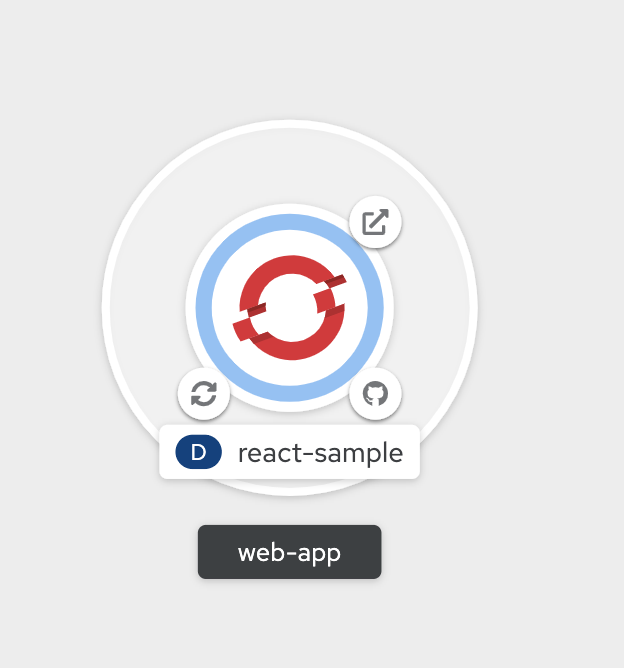
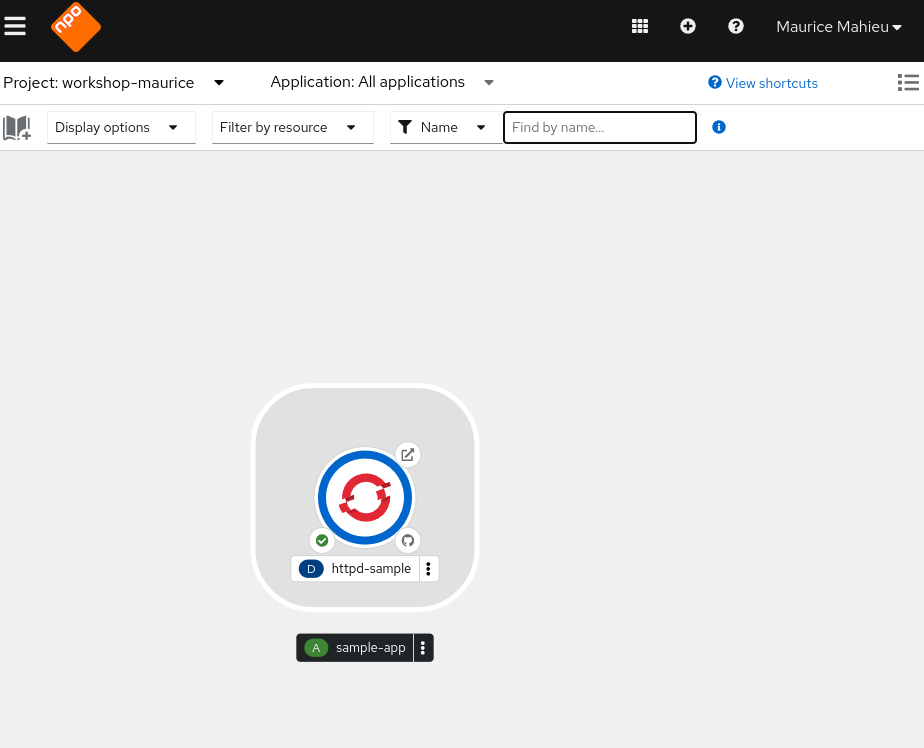
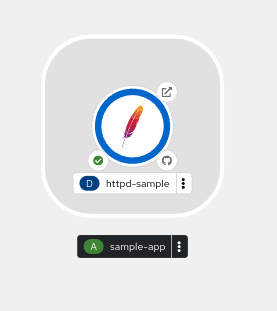
You will notice the topology view now changes to what is show in the figure below:
-
There are two circles here
-
Outer circle represents the application, It shows
sample-app** -
Inner circle represents the deployment named
httpd-sample
-
-
Hover over the icon on different corners. You will notice
-
Build Running . Clicking in this will show build logs.
 -
Edit Source will take you to source code
 -
Open URL will open the URL/Route for this app on a new browser tab
-
-
Click on
that takes you to Build Logs. OpenShift builds run in a pod that comes up and runs a source-to-image build.
Running into Resource Limits
Note: With the new cluster we don't run into resource limits anymore. The text below is still in place with the react-sample-1 as an example for what to do should you run into Resource Limits.
By default the build will fail with an Out of Memory (OOM) error. This is because of our default memory limits.
Make sure you are logged in to the OpenShift console, the instructions can be found in Chapter 2.
Run the following commands to fix the problem, please note that your results may differ.
## Select the project
$ oc project <Your Project>

## Now we need to find the builds
$ oc get builds

NAME             TYPE     FROM          STATUS    STARTED          DURATION
react-sample-1   Source   Git@db8420b   Running   15 seconds ago

## If the build is still running, cancel it first:
$ oc cancel-build react-sample-1

## Afterwards, we need to patch the BuildConfig, which is the name of the build without the "-1"
$ oc patch bc/react-sample --patch '{"spec":{"resources":{"limits":{"memory":"1Gi","cpu":"1000m"}}}}'

## Now, start a new build
$ oc start-build react-sample

## You can check it's status again by running oc get builds
$ oc get builds
NAME             TYPE     FROM          STATUS                       STARTED          DURATION
react-sample-1   Source   Git@db8420b   Cancelled (CancelledBuild)   50 seconds ago   22s
react-sample-2   Source   Git@db8420b   Running                      6 seconds ago
Source-to-Image
Source-to-Image (S2I) process converts your source code into a container image. Builder Image that you chose earlier has the capability to do S2I. Builds do the following:
-
Clone source code from the git repo
-
Generate a Dockerfile
-
Build the source code (example compile the code) and create a binary
-
Execute container build using builder
-
Push the resultant container image into integrated container registry running on OpenShift.
Observe the build logs to note the above steps in the logs.
-
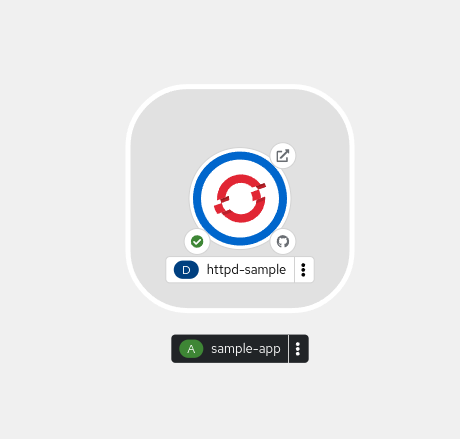
Once the S2I build is complete, deployment runs to deploy the application instance as a pod. At that point you will notice the pod starts running as shown below (hover your mouse pointer over the blue ring).
-
Now click on the URL icon on the top right which takes you to the running application in a new browser tab.
You have successfully built and deployed an application using web console!!
Explore your application
-
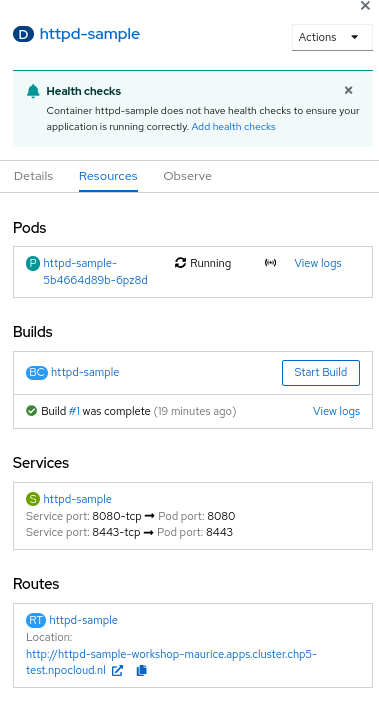
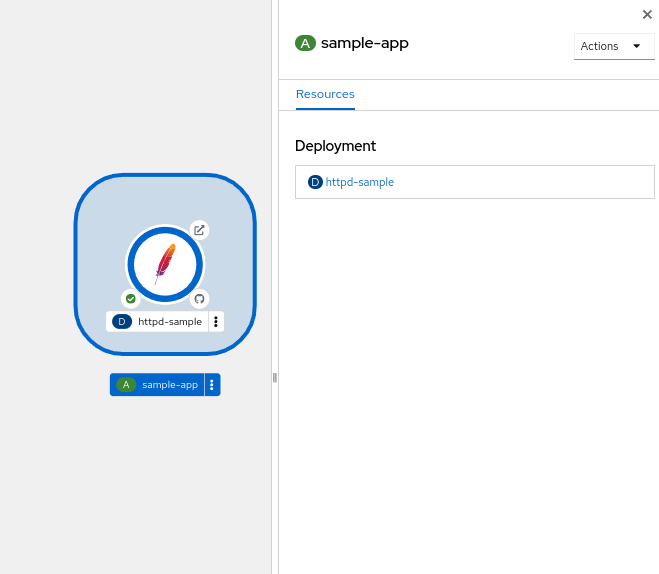
Click on the deployment icon and it will show you details about that application on the right as shown below
-
Overview tab that shows details of the deployment, number of pods running etc.
-
Actions drop down, allows you to make changes to the deployment. As an example, navigate to Actions→Edit Labels and add a label
app.openshift.io/runtime=apacheand Save. You will notice that the application shows the icon indicating JavaScript based application as shown below.
-
Resources tab allows you to directly get to openshift resources such as Pods, Builds, Services, Route. So it is like a summary for all the objects related to this deployment. Navigate to each of these objects and also look at their YAMLs and understand the options that the WebConsole provides to edit these objects.
Explore Project Menu on the top

-
Project dropdown allows you to switch between the projects and Create new project
-
Applications dropdown allows you to filter the apps in the view, if you deploy multiple applications in this project
-
Shortcuts shows you command shortcuts to accomplish actions such as making a deployment part of an application (by
SHIFT+Drag), connecting application components (byHoverover and drag the arrow) etc. -
You can switch between the Topology view and the List view by clicking on the List icon on the right.
Lot more features will be available very soon on developer console such as * Showing Pod Count * Creating pipelines via console and more
Even if this lab is not updated, you can explore everything on the webconsole at this point.
Delete Application
-
Click on the Application circle. It will show the application details on the right
-
Now select Actions→Delete Application
-
It will prompt you to confirm the application name to delete. Type in the application name
sample-appin my case. -
The application is deleted and you will be back to a blank topology with options to deploy a new app again.
Delete Project
-
Switch back to Administrator Console to view a list of projects
-
Select the menu option on the right end of the project and click on
Delete Project

-
Confirm deletion by typing in the project name and click on Delete button
Summary
In this lab, we learned to deploy an application using OpenShift Developer Console, explored the application details, and cleaned it up.